Black Flag Resynced Treasure Maps Guide
A launch-week-safe method for finding treasure maps, reading coordinates and landmarks, logging solved caches, and handling changing totals.
Treasure maps create two different problems that are often mixed together. First, you must obtain a parchment or clue and identify its destination. Second, you must stand in the correct local patch of ground and match a hand-drawn landmark closely enough for the dig interaction to appear. A long coordinate list can help with the first problem while making the second harder, because players keep staring at a number instead of reading the beach, ruin, wreck, ridge, or tree line in front of them. This guide teaches a repeatable solve method before offering route advice.
Do not rely on a launch-week total as your only completion test. PC Gamer's page changed its headline and body count during our July 13 checks, while PowerPyx used a broader restored-map set. That does not automatically make either source wrong; one list may count newly restored entries, reward-linked maps, or revisions differently. The durable solution is a personal ledger tied to the game UI: record the map name or image cue, where it was obtained, its printed coordinates, the destination region, whether the dig prompt appeared, and what reward was actually granted.
This page avoids reproducing copyrighted map art or screenshots. Our route-desk visual is an original illustration, and the external guides remain reference links. If you want a completely spoiler-free solve, stop after the coordinate and landmark method. The later table discusses efficient sweeps and failure diagnosis without publishing every exact cache position. That keeps the page useful for players who want help reading the puzzle rather than a list that removes it.
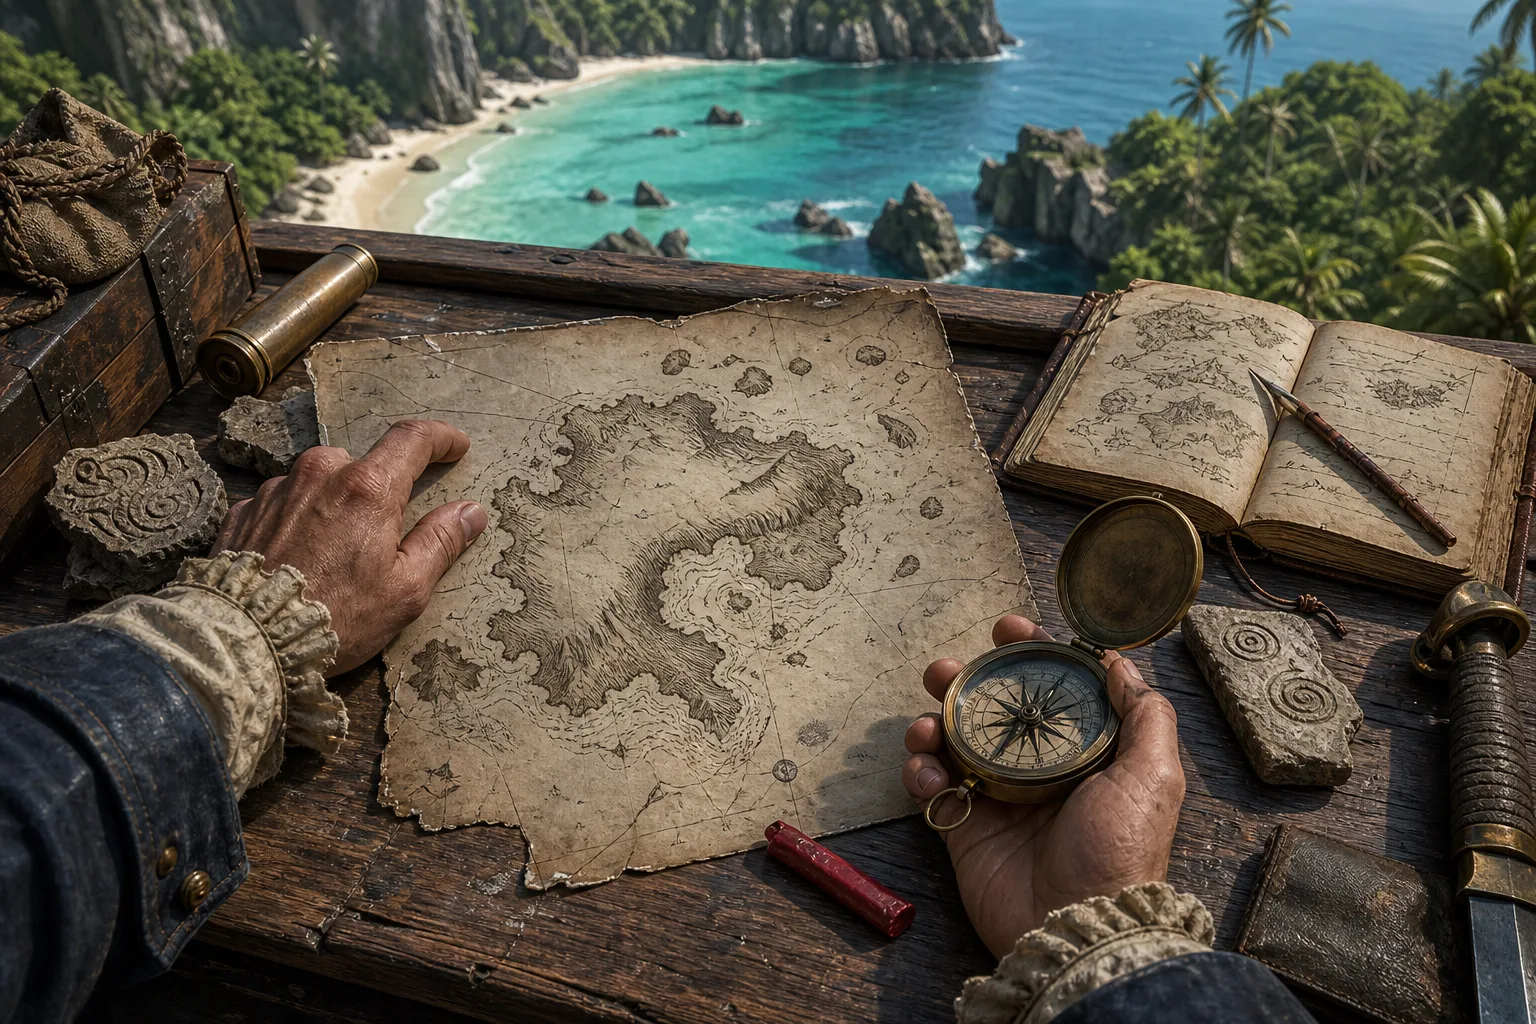
Field visual
Original route-desk artwork supports the planning task. It is not an in-game screenshot and does not claim pixel-perfect geography.
Step-by-step guide
- Build a four-state treasure ledger
Create one row per parchment with four independent states: acquired, destination identified, cache dug, and reward verified. Do not mark a row complete merely because you reached the coordinate or saw a familiar landmark. This distinction catches the common case where a player owns the map but never triggered the dig, or opened a nearby ordinary chest and assumed it was the treasure reward. Add the date and game version when possible. If a guide later changes its total, your rows remain valid because they describe actions in your save rather than someone else's published checklist.
- Use coordinates to select the region, not the final footstep
Open the world map and compare the parchment's coordinate pair with named islands, ports, and coastline sectors. Your goal is to choose the correct landmass and nearest landing point. Do not expect the numbers to guide you to a meter-perfect spot once ashore; the puzzle deliberately hands control back to visual recognition. Plot a route that approaches from the side shown in the sketch when possible. If the destination appears inaccessible, verify story progression and synchronization rather than circling the shoreline indefinitely. Some regions or traversal paths may not be available on first discovery.
- Translate the sketch into three anchors
Before moving, name three visible anchors from the parchment: a large silhouette such as a fort, mountain, wreck, or ruin; a medium anchor such as a tree cluster, wall, or beach curve; and a close anchor such as a rock, broken timber, or patch of open sand. Match them from largest to smallest. The large anchor confirms the general side of the island, the medium anchor determines your approach line, and the close anchor identifies the dig patch. This is faster than scanning every glowing object and more resilient than memorizing an old screenshot whose lighting or vegetation may differ in Resynced.
- Search in a tightening spiral
Stand where the large and medium anchors align, then walk a small spiral while watching for the context prompt. Keep the camera low enough to compare horizon shapes and high enough to see the ground. Do not sprint continuously; prompts are easier to miss at speed, especially near foliage, rubble, or interactable clutter. If the spiral grows beyond a short local search, stop and reset from the medium anchor instead of expanding forever. A very large search radius usually means the wrong beach, the opposite side of a ruin, or a coordinate transcription error rather than an unusually hidden dig spot.
- Combine maps with regional resource runs
Once several destinations are known, group them by island chain or nearest fast-travel point. On each trip, repair and restock first, land at the most distant cache, and work back toward a port while collecting upgrade materials that lie naturally on the route. Keep story missions separate when they lock the area into a special state or restrict free movement. A regional sweep reduces loading and sailing, but it should not turn into uncontrolled icon clearing. Define the trip before departure: two treasure rows, one Mayan Stone, one viewpoint, or one upgrade resource, then return to the route desk.
- Diagnose a missing dig prompt in order
First confirm the parchment is actually in your inventory or quest log. Second verify the coordinate pair and destination name. Third rotate around the landmark to test the opposite approach shown by the drawing. Fourth clear nearby combat or restricted-area alert states. Fifth reload from a safe position and re-enter the patch. Only after those checks should you compare a current external guide or consider a patch issue. When you succeed, record the reward immediately. This sequence prevents an old guide screenshot, a normal chest, or a temporarily blocked interaction from corrupting the rest of your completion log.
Quick reference
Treasure-map solve card
| Stage | Question | Failure signal |
|---|---|---|
| Acquire | Is the parchment present in the current save? | A web list says it exists, but your journal does not |
| Navigate | Which landmass and landing point fit the coordinates? | You are using coordinates as a final ground marker |
| Orient | Which three landmarks align with the sketch? | Only one generic object looks similar |
| Dig | Did the unique interaction and reward occur? | You opened a nearby normal chest |
| Verify | Is the row complete in your own ledger/UI? | A changing article total is your only proof |
Video evidence
These exact embeds were checked on 2026-07-13. They are reference evidence, not substitutes for the current in-game UI or patch state.
Assassin's Creed Black Flag Resynced — Official Game Overview Trailer
A concrete official video reference for the remake's presentation and feature overview. The embed is used as reference evidence; its thumbnail is not copied into site assets.
FAQ
How many treasure maps are in Resynced?
Launch-week sources currently disagree and have been updated. Use the in-game completion view and a dated ledger; this guide will not freeze a volatile total into an evergreen claim.
Why is there no dig prompt at the coordinate?
Coordinates select the area. Match the drawn landmarks, clear alert states, confirm the parchment is owned, and search a small local spiral.
Are old Black Flag map guides still useful?
They can orient you, but restored content, visuals, controls, and inclusion rules may differ. Verify every location in Resynced.
Does this page copy map images?
No. Official and publisher pages are linked as references. The site uses its own generated route-desk art.
Sources
- PC Gamer — Black Flag Resynced treasure map locations Secondary location guide; its displayed total changed during launch week. Checked 2026-07-13.
- PowerPyx — All treasure map locations and solutions Secondary comparison using a broader restored-map count. Checked 2026-07-13.
- Ubisoft — Black Flag Resynced official game page Primary source for release date, platforms, modes, and product scope. Checked 2026-07-13.